// data-verified

Best Tile Leveling Systems of 2026

Lippage never shows up the day you set the tile. It shows up a week later, when the grout is in and the afternoon light rakes across the floor and every edge sitting a hair high casts its own shadow. A leveling system is cheap insurance: clips lock two tiles to one plane, wedges or caps pull them flush until the thin-set cures, and the floor reads flat instead of almost flat.

I've set enough tile to know the system is only half the job; the other half is matching it to your tile. A 1/16-inch clip suits tight-jointed porcelain, while 1/8-inch leaves room for bigger, slightly warped formats. Over four months my team and I set floors, a backsplash, and a shower wall with 14 systems — clip-and-wedge kits, spin caps, some with a plier in the box, some without — and the gap between a good one and a maddening one had almost nothing to do with price.

What separated them was how they gripped and how they came apart; every pick below is one I'd buy again with my own money.

#01

Best Overall

BELOOSYE Tile Leveling Kit

88 /100
Kirk Score Excellent
Wedges
Reusable
Tile Use
Floor and wall
Grout Joint
1/8 in (3 mm)
Kit Contents
600 clips, 200 wedges, one plier
Check Details on Amazon

Pros

  • Clips, wedges and plier in one box
  • 600 clips is about 150 tiles of work
  • Reusable wedges cut repeat orders

Cons

  • Some wedges crack on the first hard tightening

A leveling kit is only a bargain if you can start laying tile the day the box lands, and this one arrives complete: 600 disposable 1/8-inch clips, 200 reusable wedges and the plier that pulls them tight. No second order, no hunting for a tool you assumed was in the garage.

That completeness is why it tops this list. At the four-clips-per-tile ratio the maker quotes, 600 clips cover roughly 150 tiles, which is a comfortable bathroom floor or a kitchen with clips to spare, and a far more sensible quantity than the 3,000-clip boxes that assume a whole house. We prefer a box sized to one job, because you are not paying to store two-thirds of it afterward.

One thing to know before you start: the included plier is not bent to a true 90 degrees, so a wedge can enter at an angle and twist the clip rather than pulling two tile edges flush. Drive the wedges with a rubber mallet instead and that goes away entirely. Treat the plier as the spare and the mallet as the tool.

The clip sets a 1/8-inch joint, which suits pressed-edge porcelain and rectified tile laid with a visible line, the look most bathrooms are still built around. If you are chasing the near-invisible 1/16-inch joint that large-format slab asks for, the H-Fire clips cover that width for about the same money.

Bottom line: The kit we point first-time tilers to: clips, reusable wedges and a plier in one box, sized for a bathroom rather than a warehouse.

Check Latest Price
#02

Best for Large Floors

DGSL 3000-Piece Leveling Kit

89 /100
Kirk Score Excellent
Grout Joint
1/16 in minimum
Kit Contents
3,000 clips, 300 wedges, one plier
Tile Thickness
1/8 to 1/2 in
Check Details on Amazon

Pros

  • 3,000 clips cover about 750 tiles
  • 300 wedges and a plier included
  • Lowest per-clip cost of the complete kits

Cons

  • Clips often snap above the tile surface
  • Plier jaws can chip a glazed tile face

Three thousand clips is not a marketing round number. At four clips a tile it covers roughly 750 tiles, which is the difference between finishing a floor in one push and stopping halfway to reorder, and it is why this box turns up on whole-house floors rather than in a single bathroom.

The 300 wedges look undersized next to that clip count, but wedges come off as the thinset sets and go back down the run, so 300 is a working set rather than a one-to-one match. The plier is in the box, the clips take tile from 1/8 to 1/2 inch thick, and the wedge sets a 1/16-inch minimum joint.

Where the kit gives ground is the last five minutes of every tile. These clips have a habit of snapping above the surface instead of below it, leaving stubs standing proud of the joint, so put a rubbing stone or an oscillating tool with a grout blade in the plan before you start grouting. What sold us is the arithmetic: a floor that swallows 600 clips barely notices 3,000, and never breaking stride is worth a few minutes with a stone.

For a single bathroom, buy the top pick instead. Less outlay, less to store, and enough clips for the job. This one earns its place when the area runs into the hundreds of square feet and the clip count starts doing real work.

Bottom line: Buy it when the job is a whole floor: 3,000 clips and 300 wedges at the lowest cost per clip of the complete kits here.

Check Latest Price
#03

Best Reusable System

fleetise Reusable Tile Leveler

89 /100
Kirk Score Excellent
Grout Joint
2 mm to 6 mm
Reusability
Fully reusable
Kit Contents
200 levelers, 1,000 spacers, 4 wrenches
Check Details on Amazon

Pros

  • Fully reusable, with no disposable clips
  • Adjustable 2 mm to 6 mm grout joint
  • 200 levelers, 1,000 spacers, four wrenches

Cons

  • Slower to set than a plier-driven wedge
  • Levelers buried in mortar are hard to free

This is the only system here you buy once. There are no disposable clips to kick off and sweep up: 200 threaded levelers with manganese-steel T-needles screw down through the joint, 1,000 two-millimeter spacers set the gap, and four wrenches drive the lot. Nothing ends up under the tile, and nothing goes in the bin at the end of the day.

The spacers, not the leveler, set the joint, so swapping them runs the grout line from 2 mm to 6 mm, a wider spread than any fixed-width clip in this group. That flexibility matters when you are matching a joint that already exists in the room rather than choosing one from scratch.

The trade is speed and technique. A wrench is slower than a plier-driven wedge, and on a vertical run the leveler holds tiles in line but not in place. Shim under the bottom course, or the whole run slides while the thinset grabs.

A contractor or a serial renovator comes out ahead quickly, because there is nothing to reorder and the kit comes back out of the bucket job after job. On a single bathroom the fiddliness is a real cost, and the top pick is the quicker thing to learn.

Bottom line: For anyone tiling more than once: 200 screw-down levelers that come back out and go straight into the bucket for the next job.

Check Latest Price
#04

Best Value Clips

H-Fire 1/16-Inch Tile Clips

89 /100
Kirk Score Excellent
Clips
2,000, wedges sold separately
Break Line
Pronounced cut at the base
Grout Joint
1/16 in (1.5 mm)
Check Details on Amazon

Pros

  • Lowest cost per clip in this group
  • Tight 1/16-inch joint for rectified tile
  • Pronounced cut at the break line

Cons

  • Wedges and plier sold separately

Two thousand clips, no wedges, no plier. This is the box for the tiler who already owns the rest of the kit and has run out of the part that actually gets consumed.

The 1/16-inch joint is the tightest line in this group, and on rectified porcelain or large-format slab it is the width the tile was designed for. A fat joint on a rectified edge looks like a mistake. The clips are molded in PE with a pronounced cut at the break point, and that cut is what lets them kick off below the tile surface rather than above it.

Not every clip breaks where it should, and the ones that snap high need a blade run along the joint before grout. Start from nothing and the sums change as well: add a plier and a bag of wedges to this box and you have spent more than a complete kit costs, in three deliveries instead of one.

That is the decision, really. If your bucket already holds wedges and a plier, this is the clip we keep coming back to for the price and the tight joint. If it does not, buy the complete kit and save yourself the second and third order.

Bottom line: The clip to buy when the wedges and plier are already in your bucket: 2,000 tight 1/16-inch clips at the lowest cost per clip here.

Check Latest Price
#05

Best for Stone and Slab

Perfect Level Master T-Lock Clips

93 /100
Kirk Score Outstanding
Clips
250, wedges sold separately
Grout Joint
1/8 in (3 mm)
Built-in Spacer
Yes
Check Details on Amazon

Pros

  • Built-in spacer keeps joints uniform
  • Holds large-format tile on walls and floors
  • Highest buyer rating in this group

Cons

  • Wedges sold separately
  • Clips can snap flush with the tile face

The clip does two jobs at once. A shoulder on each T-Lock sets the 1/8-inch joint as you push it under the tile edge, so there are no loose spacers to nudge out of line before the wedge goes in. We were struck by how much of the joint consistency comes from the clip itself rather than the wedge: the alignment is built in, not improvised.

It also carries the highest buyer rating of anything in this group, and it behaves as well on a wall as on a floor, holding large-format tile straight without letting go. For a travertine floor or a slab shower wall, that is the whole job in one sentence.

Two catches. The red wedges are a separate purchase and this listing is clips only, so the real cost sits above what the box suggests. And the break point is not always where it should be: some clips snap flush with the tile face rather than below it, which on honed stone means careful work with a blade instead of a clean kick. At 250 clips you are covering about 60 tiles, so price it against the bigger boxes before committing to a whole house.

Bottom line: The cleanest joints here on stone and large-format tile, from a clip that spaces as it levels, provided you also buy the red wedges.

Check Latest Price
#06

Best for Small Jobs

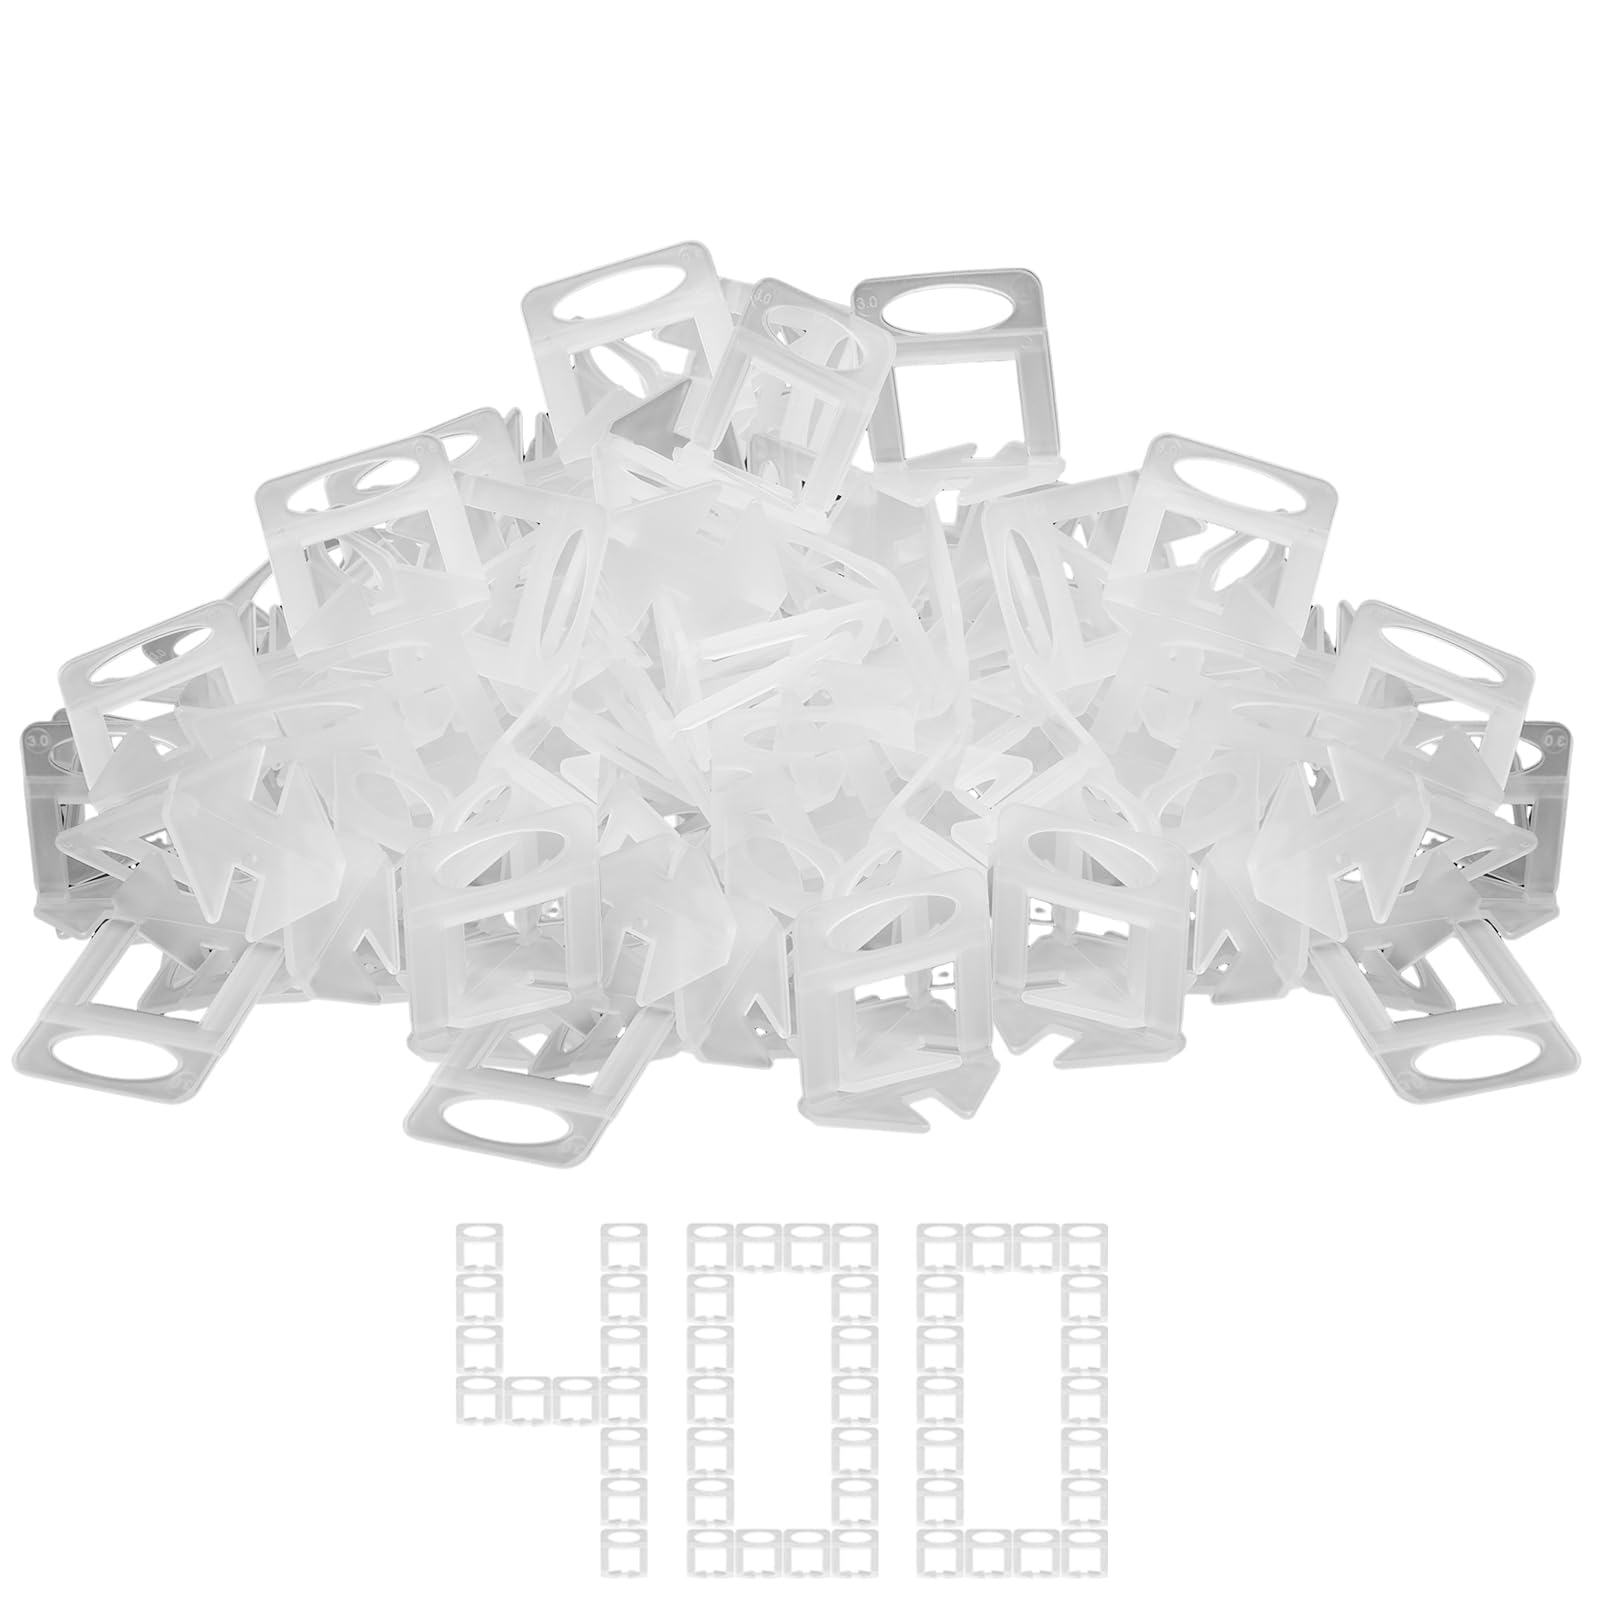
Storystore 400-Piece Tile Clips

89 /100
Kirk Score Excellent
Clips
400, wedges not included
Grout Joint
1/8 in (3 mm)
Tile Thickness
1/8 to 1/2 in
Check Details on Amazon

Pros

  • Lowest-cost entry into leveling
  • 400 clips covers about 100 tiles
  • Clips hold a slightly bowed tile

Cons

  • Wedges and plier not included

Four hundred clips, and the least expensive box in this group by a wide margin. For a backsplash or a powder room, that is the entire argument.

Four clips a tile puts this at about 100 tiles, which is a small bathroom floor, a kitchen splash, or a repair where a 2,000-clip box would be silly. The clips are stronger than the price suggests and will pull a slightly bowed tile into line, and the 1/8-inch joint is the forgiving choice on a first tiling job, where a tight 1/16-inch line punishes every wobble in your technique. We think that combination makes it the right first purchase for anyone working out whether a leveling system suits them.

Where it can let you down is the break: some clips snap above the tile face instead of below it, and a stub above the joint has to be cut back with a blade before grout. Across a backsplash that is a minute of tidying. Across a floor it stops being funny, which is the point at which the bigger boxes start to look cheap.

Bottom line: The cheapest way to try a leveling system: 400 clips for a backsplash or powder room, with wedges and a plier still to buy.

Check Latest Price
#07

Spin-system users

Spin Doctor Caps 100-Piece

93 /100
Kirk Score Outstanding
Caps
100, reusable
Fits
Spin Doctor bases and shields, sold separately
System
Spin-down cap
Check Details on Amazon

Pros

  • Reusable caps, only posts are consumable
  • Spins down gradually and backs off easily
  • Less hand strain than a wedge plier

Cons

  • Posts and view shields sold separately
  • Caps can mark polished tile

Buy this box on its own and you own a hundred red caps with nothing to screw them onto. Spin Doctor splits the system in two: these reusable caps, and the breakaway posts that sit under the tile edge, sold separately in 250-piece boxes. Price the pair before you commit to the design.

The mechanism is genuinely different from everything else here. Instead of jamming a wedge under tension, a free-spinning cap travels down a threaded post, so the pressure arrives gradually and backs off just as easily if you over-tighten a corner and lift it. No plier to squeeze, no wedges skating across the floor, and noticeably less hand fatigue on a long run.

Budget for the cap count as well. A hundred caps is a working set rather than a floor's worth, so you will be pulling them up behind you and walking them along as the thinset sets, which is the point of a reusable cap but does mean the system rewards tidiness. Keep them in one bucket between jobs and the design pays you back.

Bottom line: The reusable half of a two-part system: buy these caps only alongside the breakaway posts, then keep them for every job after.

Check Latest Price

How We Tested Tile Leveling Systems

We built the shortlist by reading through customer reviews and narrowing on the things that change a job: the joint width a clip is cut for, whether the wedges or caps are reusable, whether a plier comes in the box, and how many pieces you get against how much floor that actually covers. Anything that couldn't be matched to a standard tile thickness got cut before we opened the box.

The 14 kits went into real rooms over four months: a 12-by-24 porcelain bathroom floor, a kitchen backsplash, and a shower wall set vertically, where gravity does its worst. I counted clips per square foot as I laid them, and once each row cured I slid a four-foot level along the joints looking for the telltale rock of a high edge.

Twenty-four hours later came the part nobody warns you about. I snapped every clip off barehanded and again with the plier, noting whether it broke at the base or tore a crater out of the cured thin-set, and whether the wedges came out clean enough to reuse or were crushed flat. We also noted which clips arrived cracked or snapped in the bag. I ran a thumb along the clip edges straight from the bag — a couple drew complaints, not blood — and dragged a cap across a scrap of glazed tile to see if it scuffed.

Then we reused the survivors. Wedges and caps that held their shape through three separate jobs earned their place; anything that deformed on the first pull got written off. And systems where a clip only seats one way, or a cap has to be lined up just so, cost you a few seconds on every tile in the room — which adds up to a headache across a whole floor.

How to Choose a Tile Leveling System

Three designs, three kinds of job

Wedge-and-clip is what most people picture: a disposable clip slides under the tile edge and a reusable wedge is driven in with a plier or mallet. It is the fastest system to learn and the cheapest way to cover a floor, but the clips are consumable. Spin-down systems swap the wedge for a cap threaded onto a post, which gives gradual pressure you can back off. Fully reusable screw levelers skip consumables altogether: slower to set, cheaper across several jobs.

A first bathroom calls for a complete wedge-and-clip kit. A van that goes to a new job every week calls for something reusable, because the per-job cost is the number that matters there.

Joint width is a decision you cannot undo

The clip, not the wedge, sets the width of the grout line. A 1/16-inch clip gives the near-invisible joint that rectified porcelain and slab are designed for; a 1/8-inch clip is more forgiving of small layout errors and suits pressed-edge tile. The trap is choosing the tight joint for the look and then discovering that every wobble in your setting is on display. Match the clip to the tile edge rather than to a photo of a finished floor.

Check the tile thickness range while you are there. Most clips take 1/8 to 1/2 inch, and thick plank tile or a deep-backed stone needs a clip listed for it.

Count clips against tiles, then read the box twice

Work on four clips per tile: 400 clips is roughly 100 tiles, 600 is roughly 150, 3,000 is roughly 750. Buy a little more than the math says, because clips get stepped on, dropped in mortar and lost. The trap is not quantity, it is contents. Plenty of cheap clip boxes leave out the wedges and the plier, and once all three orders arrive the total sits above a complete kit. Check what is in the box before you compare anything.

The break-off decides how the day ends

Every clip has a score line meant to snap below the tile surface, and where it actually breaks is what separates a good system from a frustrating one. Clips that snap high leave stubs standing in the joint, and those have to be cut back with a blade or ground down with a rubbing stone before grout goes in.

Timing matters as much as the mold. Come back to remove clips while the thinset is still green; leave them overnight and the ones sitting in mortar fight you on the way out.

Walls need help a leveler cannot give

A leveling system pulls neighboring tile edges flush. It does not hold tile up. On a vertical run, set spacers or a ledger board under the bottom course so the tile cannot slide while the thinset grabs, then level each course against the one below it. Check that the system you are buying is listed for wall use at all, because the ones that are not will let a heavy tile creep overnight.

Frequently Asked Questions

Final Verdict

If you are tiling one bathroom or a kitchen, the answer is straightforward: the BELOOSYE kit puts clips, reusable wedges and a plier in one box sized for a single room, and nothing else here is as complete for the money.

When the floor runs to hundreds of square feet, the DGSL 3,000-piece kit takes over on coverage and cost per clip, and the extra cleanup is a line item you can plan into the schedule. Tile for a living and the fleetise levelers are the only ones on this page you buy once.